

How unique is this little table runner? When I saw the project in the book Quilt-opedia, I instantly flagged it. Does anyone else have quilting books with a ridiculous amount of post it notes sticking out of them? No? Just me?
Unfortunately – the most unique projects always seem the most time consuming.
I started off by creating the hexagon templates. To do so, I simply google searched and used templates that would be the right size. I used a 5 inch charm pack for my fabric, so I knew I had a limited size of fabric that could be used for each hexagon.
This site has different hex templates based on what sizes you want to tackle. I used the 3 inch templates with my 5 inch fabric squares.
Cut out 15 hexagons, making sure to take note which color you will want to be using for the front and for the back. I made sure to use dark backings and light fronts, or visa versa.
Cut out 5 inch hexagons for the backing. Iron 1/4 inch down (wrong side to wrong side around the perimeter of the hexagon. You will then need to top stitch along the perimeter to combine the 4 inch hexagon to the 3 inch hexagon. Carefully fold the fabric around, using quilting clips to hold it.
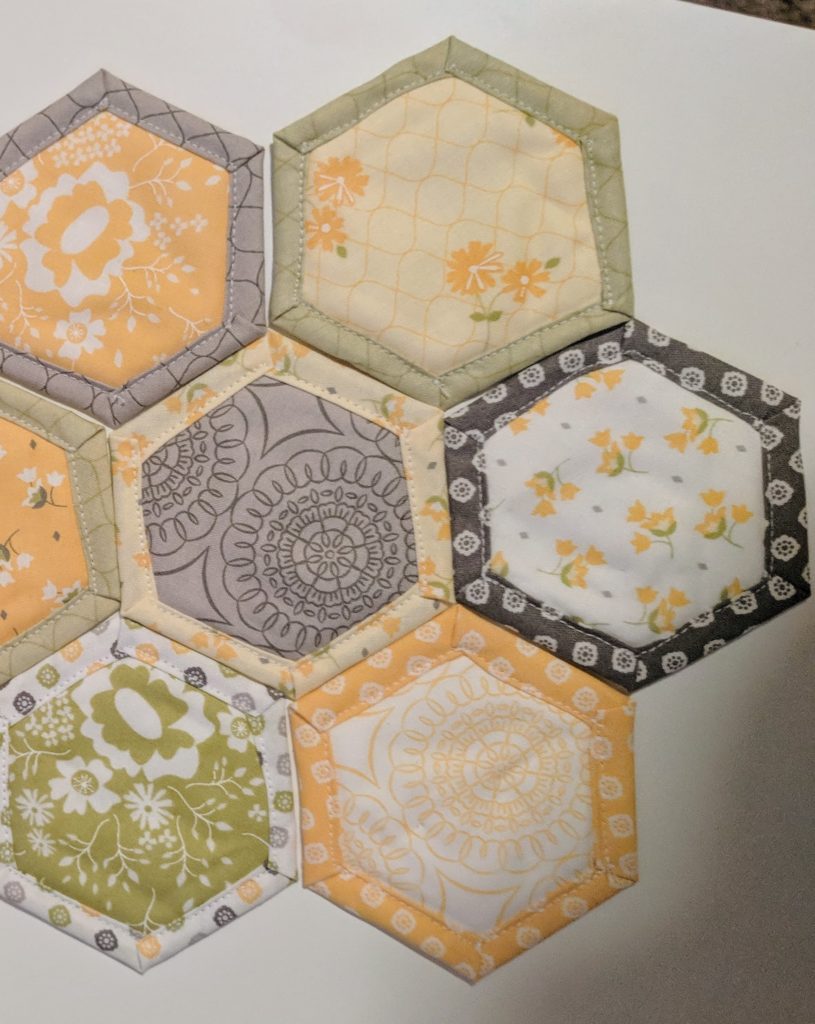
My hexagons were so far from perfect, so the next step I had to do was line them all up to make sure the sides fit together! It was a bit like putting a puzzle together. Once you are happy with what you got, use a decorative stitch to combine the pieces.
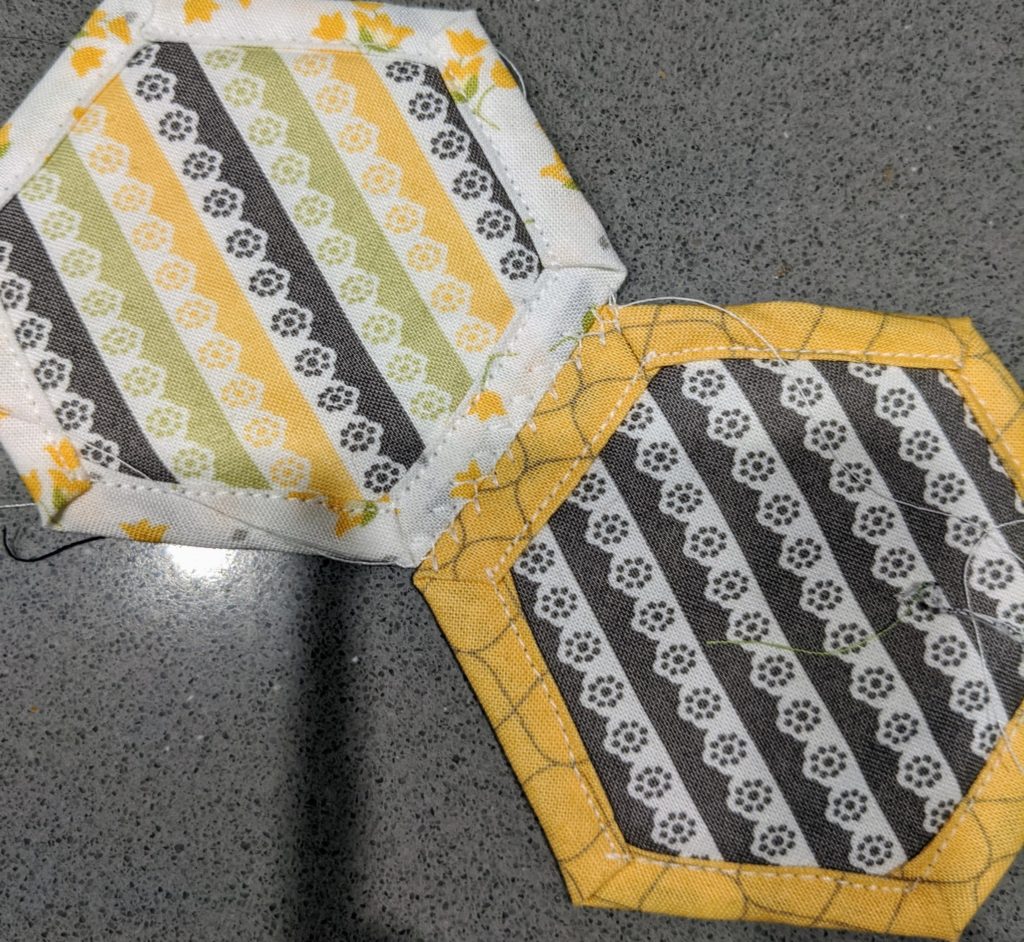
These pieces were two outcasts. I could not find sides to fit together here – oops. But we always need a few of those for practicing, right?! I used this decorative stitch normally used for a seam and got to work.
I gave this away as a gift before I had a chance to take a photo of it nicely decorated on my table. I can imagine it being so cute on a buffet with a candle or picture frame!
Let me know about your weekend projects. I’m over here trying to finish up all the projects I started, but never finished!